
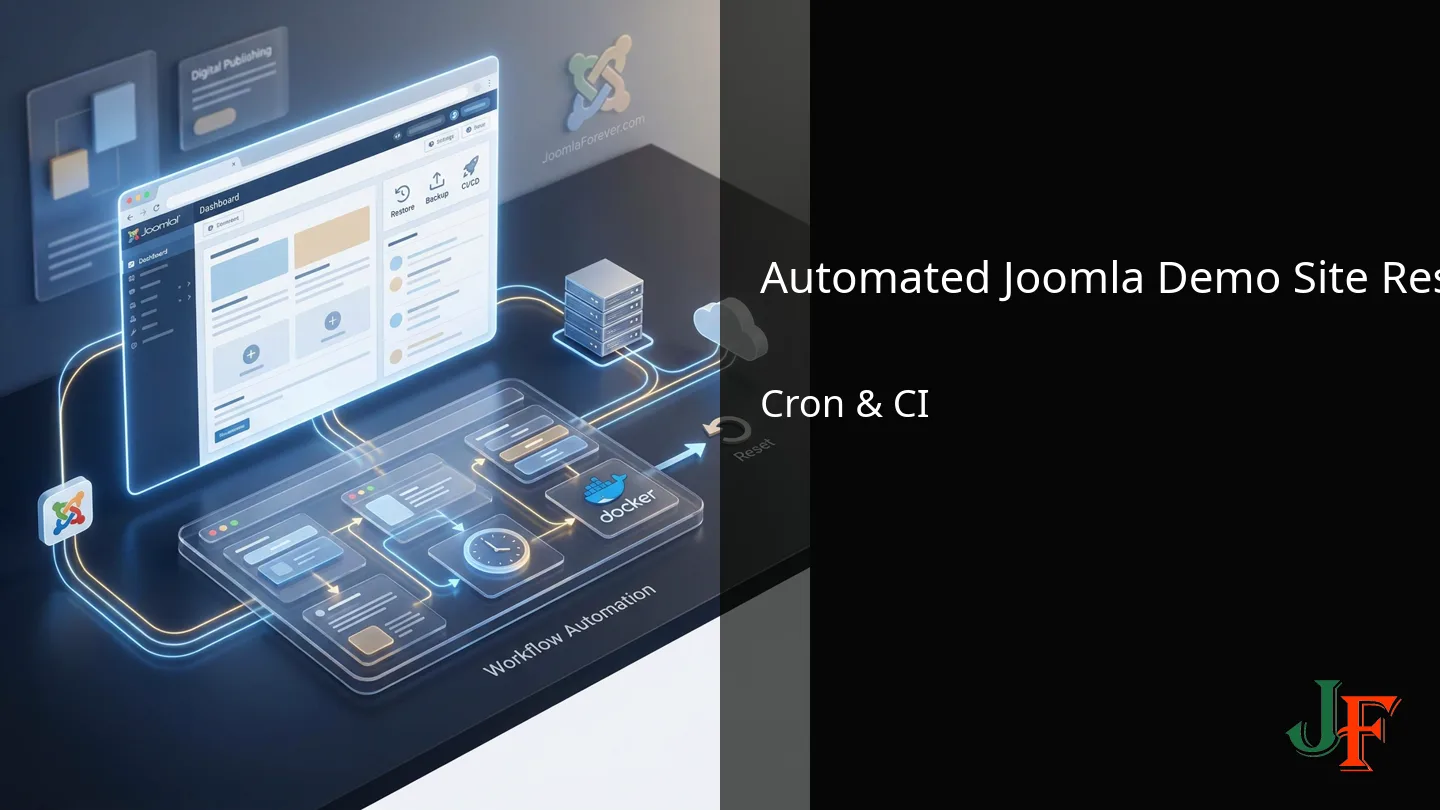
Automated Joomla demo site reset: learn what the latest Joomla release adds, how to upgrade safely, developer notes, system checks and roadmap guidance for site
Why an auto-reset Joomla demo site matters (use cases)

An automated-reset workflow returns a Joomla demo site to a known baseline on a predictable schedule so every visitor or tester sees the same content, configuration and credentials. Before you implement resets, review the Joomla Documentation for administration and configuration guidance — that reference is the canonical source for core behavior and recommended admin tasks.
Developers and product teams typically need automated resets for several concrete use cases:
- Product demos: public or private demo instances that must present the product in a consistent state for prospective customers or sales walkthroughs.
- Training environments: classrooms and onboarding sessions where each attendee needs the same starting point to follow exercises.
- Public sandbox sites: an open sandbox where many anonymous users can try extensions or configuration without affecting others.
- QA and automated testing: reproducible environments for manual QA and integration tests that require a deterministic site state.
- Extension trials: isolated test sites for third-party extensions where install/uninstall cycles and sample data must be repeatable.
Key benefits of an auto-reset demo workflow for developers and operators include:
- Reliable state for each session: predictable baseline removes variability between demos and tests, reducing flakiness in validation and demos.
- Easier cleanup: automation replaces manual resets and ad-hoc fixes, cutting operational time and human error.
- Reproducible tests: CI or QA pipelines can depend on the same known site snapshot to validate behavior deterministically.
- Reduced maintenance overhead: scheduled resets limit long-term drift and the accumulation of inconsistent data.
Automated resets also avoid common risks that plague unmanaged demo sites:
- Data drift: progressive divergence from the intended demo content makes results unpredictable and misleads testers or customers.
- Exposed test data: leftover personal or sensitive data can persist unless the environment is sanitized regularly.
- Permission creep: ad-hoc admin changes or added extensions can create unexpected privileges that persist across sessions.
At a high level you can choose between three reset approaches, each with trade-offs developers should weigh:
- Full-site restore: restore files and database from a packaged baseline — simple conceptually, but can be heavier on storage and take longer to complete.
- Ephemeral containers (Docker): create disposable containerized sites from a prebuilt image — fast and isolated but requires container tooling and orchestration.
- DB-only reset: restore just the database while preserving media and installed files — lightweight and fast, though care is needed for referential integrity and extension data.
This article targets developers evaluating these options; later sections walk through prerequisites, trade-offs and implementation patterns so you can select the most appropriate strategy for scale, security and operational constraints.
Prerequisites and environment checklist

Before you start automating resets, verify core platform and infrastructure. This checklist is intended for developers preparing servers, containers, and CI pipelines; begin by reviewing the official Joomla system requirements and administration guidance on the Joomla Documentation https://docs.joomla.org/.
- Server or container environment: Linux host or container platform with SSH access and a scheduler (cron or systemd timers). Ensure you have permission to run scheduled jobs and manage services.
- PHP runtime: Confirm the PHP version and required extensions are present for your Joomla release — consult the PHP Manual https://www.php.net/manual/en/ and the Joomla docs for exact requirements.
- Joomla version & backups: Verify Joomla release compatibility with chosen tools. Enable a full-site backup strategy (files + database) and store artifacts with controlled permissions.
- Database access: MySQL/MariaDB credentials with privileges to drop/create and import the demo database. Use a dedicated, least-privilege service account for automated restores and avoid using production credentials.
- Developer tools: Git and composer if you manage core or extensions from source. A backup tool such as Akeeba (verify compatibility in the Joomla Extensions Directory) is recommended for full-site artifacts.
- Optional infrastructure: Docker for ephemeral demos and a CI system (GitHub Actions, GitLab CI, etc.) if you plan pipeline-driven resets and artifact storage.
Quick validation checklist: can you SSH to the host, run a non-destructive PHP CLI command, and connect to the DB using the restore account? If any item fails, resolve it before automating. Always test restore workflows in a staging environment first.
Choosing a reset strategy: trade-offs and selection guide
Pick a reset strategy based on scale, frequency, and operational skill. This section compares four primary approaches and links to the Joomla Extensions Directory and the Joomla Developer Network for further developer-oriented guidance.
- Full-site restore (backup + automated restore): simple to return to a known image but heavier on storage and restoration time; good for small sites where media and extensions change.
- Ephemeral containers (Docker): fast spin-up and tear-down, ideal for per-user demos and isolation, but requires container orchestration knowledge and operational overhead.
- DB-only scripted reset: lightweight and fast when media and file layout remain constant; less downtime but must manage referential integrity and extensions that store file references in the database.
- CI/CD and infrastructure orchestration: best for repeatable, version-controlled demo builds and automated testing; higher initial complexity but ideal where reproducibility and auditing are required.
Decision matrix: choose full-site restores when you need an exact image and can tolerate longer restores; use Docker for per-user ephemeral sandboxes and fast resets; pick DB-only resets if media is static and you need minimal storage and quick operations; adopt CI/CD pipelines when you require versioned artifacts, auditability and automated tests.
Refer to the Joomla Extensions Directory and the Joomla Developer Network to verify tool compatibility and extension documentation before automating any restores.
Option A — Automated restore using Akeeba Backup (backup + cron restore)

This option uses a full-site baseline backup (database + files) and an automated restore job to return the demo site to a known state on a regular schedule. Before you begin, confirm Joomla administration basics and system requirements in the Joomla Documentation. Use the Joomla Extensions Directory to locate Akeeba Backup or alternative backup extensions and to verify compatibility with your Joomla version: Joomla Extensions Directory.
High-level workflow:
- Create a baseline site: install Joomla, add demo content, sanitize or remove any sensitive data, and confirm the site is configured as you want users to see it.
- Take a full backup: export a complete backup that includes the database, configuration and the files/media directory. This is your baseline artifact for restores.
- Store the backup securely: keep copies in a secure location — local storage with restricted permissions, S3-compatible object storage, or a remote server with controlled access.
- Automate restores: schedule a server-side job to restore the baseline at the chosen interval (daily, nightly, or hourly depending on turnover). The scheduled job should run a restore process (via your backup extension's CLI or a wrapper script), then run post-restore verification steps.
Sample cron workflow (conceptual, do not paste commands without verification):
- Schedule: choose an interval (for example: daily at 03:00).
- Pre-restore: optionally put the site into maintenance mode or pause the web service to prevent write activity during restore.
- Restore: invoke the backup extension's restore mechanism or run a controlled script that extracts files and restores the DB from the baseline artifact.
- Post-restore: fix file ownership and permissions, clear Joomla caches, restart services, and run health checks (homepage load, admin login).
- Notify: log results and send alerts on failures for manual intervention.
Key considerations for developers:
- File ownership & permissions: restores often change owner/group and file modes — verify webserver user ownership and adjust permissions after restore.
- Media and uploads: if you allow user uploads during a session, ensure the restore replaces or reconciles media consistently with the baseline.
- Sessions and cookies: active sessions may persist across restore; consider expiring sessions or clearing session tables to avoid stale logins.
- Caching: clear Joomla and any server-side caches after restore so front-end content matches the baseline state.
- Testing: always trial the full restore on a staging environment before running on a public-facing demo.
Do not assume CLI commands or flags — consult the chosen backup extension's documentation in the Joomla Extensions Directory for exact restore procedures and verify steps on your host.
Option B — Ephemeral Docker-based Joomla demo sites
Ephemeral, container-based demos create Joomla instances from a known image and destroy them after each session or on a schedule. This pattern is useful when you need strong isolation (per-user sandboxes), fast rebuilds, and reproducible baseline states without mutating a long-lived server.
High-level workflow (conceptual):
- Build a container image or docker-compose setup that includes the webserver, PHP runtime and Joomla code, or use an image that boots Joomla and its dependencies.
- Seed a baseline database and media into the image or into an attached volume/snapshot so each container starts with known demo content.
- Bring containers up with docker-compose for small deployments or orchestration (Kubernetes) for scale; expose only required ports or route via an ingress.
- On teardown, destroy containers and optionally remove or revert volumes/snapshots to return to the clean baseline; recreate new containers for the next session.
Advantages and trade-offs:
- Advantages: isolation between sessions, fast rebuilds, easy parallel per-user sandboxes, and clear boundaries for testing.
- Disadvantages: operational overhead (orchestration, monitoring, and CI integration), image storage and snapshot costs, and additional work to provide SSL and public routing.
Storage and data strategies:
- Keep media on a separate persistent volume or object storage (S3-compatible) so you can choose whether to share, preserve, or re-seed media independently of container lifecycle.
- Seed the DB at image build time or restore a database snapshot on container start. Snapshot/restore strategies speed resets but require storage that supports fast snapshots or copies.
Networking and public access considerations:
- Isolate demo traffic from production networks. Use an ingress, load balancer, or reverse proxy for SSL termination and to route each demo instance by hostname or path.
- Use ephemeral admin credentials or a bootstrap process that rotates credentials at start, and apply rate limits and access controls for public-facing demos.
Sample architecture (textual diagram suggestion): single orchestration control plane → scheduling layer (docker-compose/Kubernetes) → per-demo pod/container (web + PHP + sidecar DB restore) → shared object storage for media → ingress/load balancer for routing.
Implementation note: do not treat this section as a source of exact container commands — consult the Joomla source repository for container examples and to adapt the CMS to container environments, and verify PHP runtime requirements when building images: Joomla CMS (GitHub), PHP Manual.
Option C — Scripted database resets (DB dump + restore)

For lightweight demo resets, restoring only the Joomla database is fast and efficient when files and extensions remain unchanged. The central idea is to prepare a sanitized baseline SQL dump containing the schema and the initial demo data, then run an automated script that replaces the site database with that baseline and performs necessary post-restore maintenance. Before you begin, review the Joomla Documentation for any CMS-specific post-restore steps such as cache clearing and configuration checks.
- Create a sanitized baseline dump. Export a SQL dump from a clean demo instance after removing sensitive or environment-specific rows (API keys, production URLs, personally identifiable data). Store the dump in a secure artifact location with controlled permissions.
- Prepare an automated restore script (conceptual). Your script should, in sequence: verify prerequisites, stop or pause any queueing jobs if applicable, run the DB restore (drop/create & import), clear Joomla caches, and re-enable services. Use a PHP CLI helper or shell script depending on your environment; consult the PHP Manual if using PHP-based CLI utilities.
- Handle users and sessions. Post-restore, ensure administrator credentials are known (re-create or reset as part of the script) and remove lingering sessions to prevent stale logins. Consider re-seeding a single demo admin account with a scripted password rotated after each reset.
- Preserve or mirror media files. Options include keeping a persistent media directory separate from the demo DB, mirroring media from a read-only snapshot, or rsync'ing a canonical media tree after DB restore. Be aware that many extensions store file references in the DB; keep DB and media in sync to avoid broken links.
Suggested post-restore checks: confirm homepage loads, log in to the administrator interface, open several sample articles, and verify upload/download paths. Always test restore scripts on a staging environment and maintain backups of both the live DB and the baseline dump.
Integrating resets into CI/CD and staging workflows

Integrating your Joomla demo reset into CI/CD and staging pipelines turns an ad-hoc reset into a reproducible, auditable process. Use your CI system to build demo images or run database seeders from version-controlled fixtures, store the resulting artifacts, and trigger restores on a schedule or via webhooks so resets are repeatable and traceable. For developer guidance on packaging and automation, consult the Joomla Developer Network.
Key pipeline patterns to adopt:
- Artifact build: CI job builds a baseline artifact (container image, site package, or sanitized SQL dump) from the repository and tags it with a version or commit hash.
- Artifact storage: push artifacts to your CI artifact store or object storage so restores consume a known, versioned package.
- Deploy/restore stage: pipeline step downloads the artifact and performs the restore (image deployment, DB seeding or file restore), using secrets from the CI secret store.
- Post-reset tests: run automated smoke tests (homepage, admin login, sample content) and fail the pipeline with clear logs on errors.
Keep access control strict: store DB and server credentials in the CI secrets vault, use least-privilege service accounts and rotate keys regularly. Tagging artifacts and recording pipeline runs provides an audit trail; you can also inspect the Joomla CMS repository for community CI examples if you need example configs.
Security, permissions and versioning considerations
When running a public or shared Joomla demo, prioritize fast patching and monitored updates — subscribe to Joomla's release and security announcements and apply relevant patches promptly. Joomla Release & Security Announcements is the authoritative source for fixes.
- Limit administrative access: Use separate demo admin accounts, restrict logins by IP where possible, and rotate demo administrator passwords after each reset or on a schedule.
- Use service accounts and least privilege: Give the restore process a dedicated DB user with only the privileges required to restore and seed data; avoid using full root credentials.
- Secure backup storage: Store baseline packages and SQL dumps in encrypted, access-controlled artifact storage; restrict who can download or restore them.
- Version and sign baselines: Tag baseline artifacts or container images (semantic tags or build numbers), keep them in artifact repositories, and record which tag a reset used for auditability.
- Network and TLS: Require HTTPS for public demos, use minimal exposed ports, and consider a reverse proxy or WAF for protection.
- Monitoring and audit trail: Collect reset logs, health-check results and admin login events; alert on failed resets or suspicious activity.
For developer guidance on secure automation and best practices consult the Joomla Developer Network.
Monitoring, scheduling and verifying the automated reset
Schedule resets with cron, systemd timers or an orchestration scheduler — pick what fits your environment. Single‑server demos often use cron; containerized setups use orchestration. Choose frequency by user turnover, demo complexity and privacy. See the Joomla admin documentation: Joomla Documentation.
Monitor resets with structured logs, health‑check HTTP endpoints and alerts. Use exit codes and logging to trigger alerts and retries; consult the PHP Manual for CLI error handling and exit‑code conventions.
Run these smoke tests after every reset:
- Homepage — GET / returns HTTP 200 and expected content.
- Admin login — administrator login page loads and accepts credentials.
- Sample content — key articles or menus render correctly.
- Media & permissions — upload directory exists and is writable.
- Database — simple query succeeds.
Decide whether to retry failed resets automatically (limited retries) or to alert operators for manual rollback. Retain logs and timestamps for audit. Test reset and monitoring flows in staging before enabling public demos. Do not run destructive commands on production without verification.
Example: Build a daily-reset Joomla demo using a baseline backup + cron

This example describes a small-scale, single-server workflow for a Joomla demo site that resets daily. Assumptions: a Linux server with SSH, cron (or systemd timers), a web server (Apache/Nginx) with PHP and MySQL/MariaDB, and access to a backup tool or site package. This is conceptual — verify tool-specific commands and exact administrative steps against the Joomla Documentation.
- Step 1 — Prepare the baseline
Install and configure Joomla with the demo content and any extensions you want shipped in the baseline. Sanitize or remove any sensitive data (API keys, real user records) before capturing the baseline. Create a full site backup (files + database) using a vetted backup extension or export tool — check the Joomla Extensions Directory to find and verify backup solutions and their documentation. Test the backup by restoring it to a staging instance.
- Step 2 — Store the artifact
Move the baseline backup to a secure, access-controlled location that your restore process can reach (protected local path, S3-compatible storage, or a remote artifact store). Ensure permissions and access keys are limited to the service account that performs restores and that backups themselves are not world-readable.
- Step 3 — Prepare the restore workflow
Implement a restore script (bash, PHP CLI, or orchestration job) that follows this conceptual sequence: (a) optionally take the site temporarily offline or stop the web service; (b) restore files from the baseline package to the webroot; (c) restore the database from the packaged dump; (d) fix file ownership and permissions for the web server user; (e) clear Joomla caches and temp files; (f) restart services. Do not run destructive operations against production without staging tests — always verify exact restore commands against your backup tool's documentation.
- Step 4 — Schedule the reset
Schedule the restore workflow with cron or a scheduler. Example cron expression for a daily reset at 03:00: 0 3 * * *. Include robust logging (timestamped logs), capture exit codes, and configure alerts (email or monitoring webhook) when the job fails. Keep a short retention of previous backups and logs to assist troubleshooting.
- Step 5 — Post-reset smoke tests
After each reset run automated smoke checks to confirm site health. Recommended checks:
- Load homepage returns HTTP 200;
- Admin login page reachable and admin credentials work;
- Sample article or demo page is present and renders;
- Uploaded media paths (images) are accessible;
- Cron-based Joomla tasks (if used) run or are queued correctly;
- File permissions and webserver owner are correct.
Troubleshooting checklist
- Permissions or file ownership incorrect after restore — check webserver user and reset ownership.
- Database connection errors — validate credentials, host, and socket access.
- Missing extensions or plugins — confirm vendor packages were included in the baseline.
- Cached configuration or stale sessions — clear Joomla caches and tmp directories.
- Networking/SSL issues — ensure DNS and certificates are valid for the demo host.
Safety note: Always validate the full workflow on a staging instance before running scheduled restores against a public demo. Avoid running destructive shell commands without backups and explicit testing; verify all restore steps against your chosen backup tool's documentation and test recovery procedures regularly.

Add comment